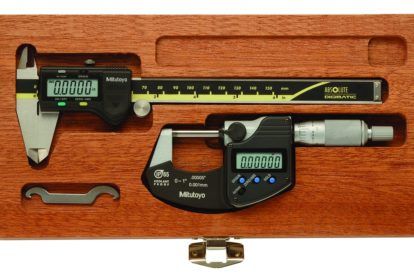
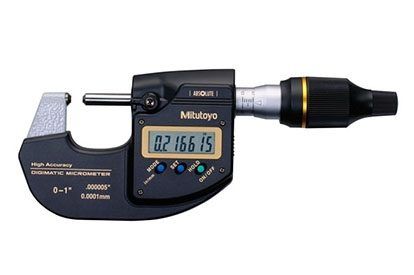
Outside micrometers are industry-standard measuring tools because of their high accuracy and resolution and ease of use. Mechanical OD micrometers are available in .001” and .0001” (0.01mm and 0.001mm) graduations. Electronic OD micrometers normally have .0001” or .00005” and 0.001mm resolutions. Standard OD micrometers are available up to 40”/1,000mm, but larger OD micrometers can be manufactured as a special-order item.
The accuracy of a micrometer is derived from several factors. The most significant factors are 1) thread accuracy, 2) flatness of measuring faces, 3) parallelism between the faces, and 4) rigidity of the frame which holds the anvil and spindle.
OD micrometers are available in a variety of spindle and anvil configurations to allow the operator to measure difficult-to-reach features on a workpiece. The measuring range on a typical OD micrometer is 1” (25mm). Some special application micrometers have a smaller or greater range than 1” (25mm). Wide range OD micrometers (interchangeable anvil micrometers) are available and reduce the cost of a micrometer set versus the cost of individual micrometers to cover the same range (typically a 6” range).
Micrometer standards are used to verify (not calibrate) the zero opening position on micrometers when the micrometer spindle doesn’t contact the micrometer anvil, such as micrometers over 1” (25mm) and some specialty micrometers.


